|
[English]
[French]
<< Prev
[1]
[2]
Next >>
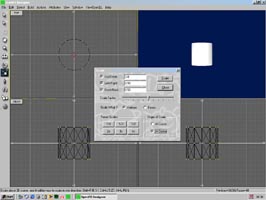 |
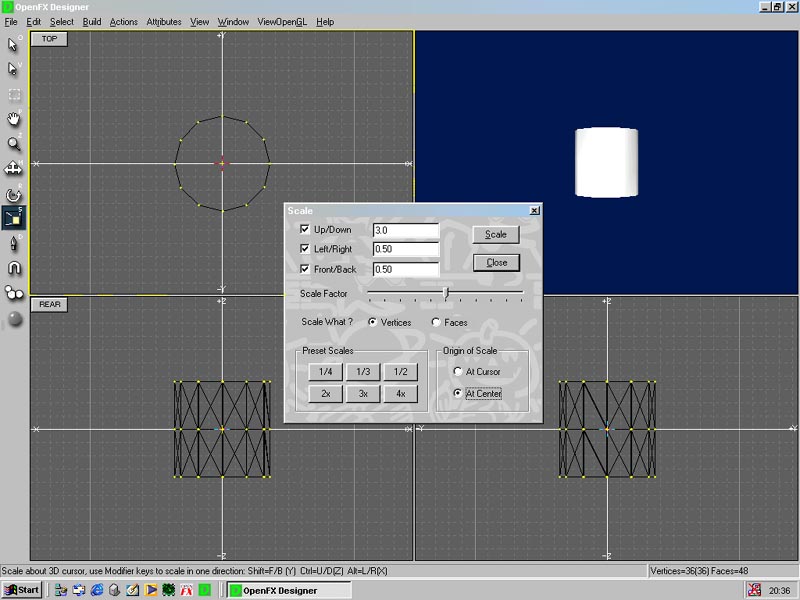
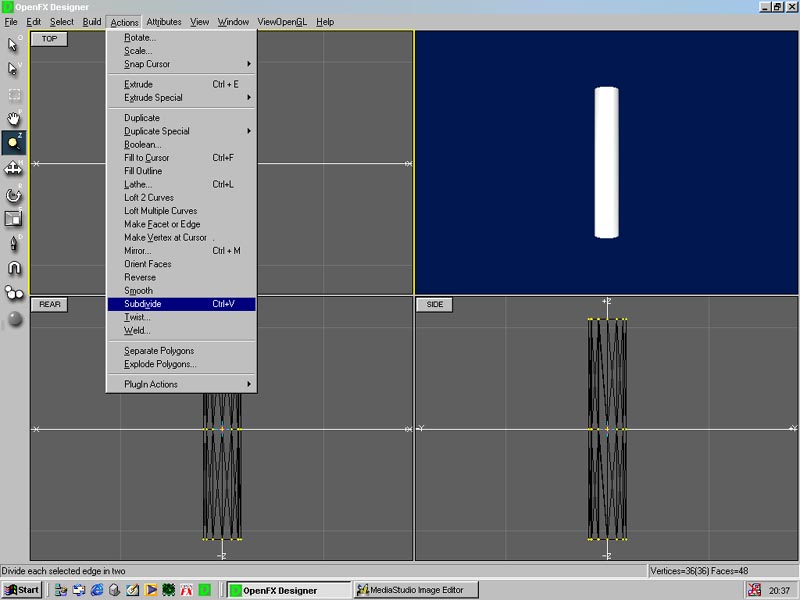
Step 1
Make a tube object in designer. This will be a basic arm which will have a skeleton
applied to it, so scale and proportion it to look something like an arm.
To help with modelling use the subdivided tool (Ctrl+V) to add more detail to selected
verticies.
|
 |
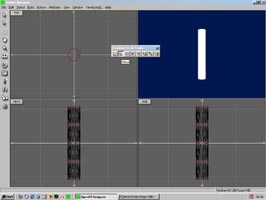
Step 2
Now to add the joints with a basic skeletal frame. The skeleton is just a set of joints
attached to selected vertices which will modify the mesh when moved.
|
 |
Step 3
With nothing selected, select Edit > Skeleton > Build joints. This will open a
floating tool bar. Hover over each of the buttons in the floating menu will give you a
brief description.
Select move and click on the root joint (this is the initial joint) it's the small yellow
box. Reposition it at the top of the arm mesh.
Think of the root as the shoulder, which in this exercise do not need to move.
|
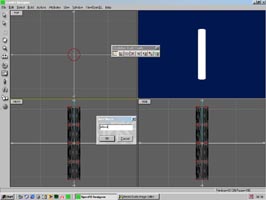 |
Step 4
Now select build in the floating tool bar. Click on the root and with the left mouse
button still held down drag the pointer to the middle of the mesh and let go of the mouse
button. A dialog box will open prompting you for a name for the new joint you just made.
Call it elbow.
|
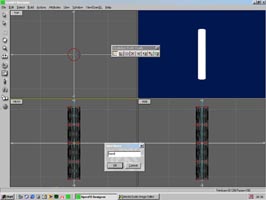 |
Step 5
Do the same as above but click on the elbow joint and drag down to the end of the mesh.
Call this joint hand.
|
Tutorial written by Andrew Heyworth
<< Prev
[1]
[2]
Next >>
|